6 ways to Add any Smart Home Device to HomeKit [Step Guide]
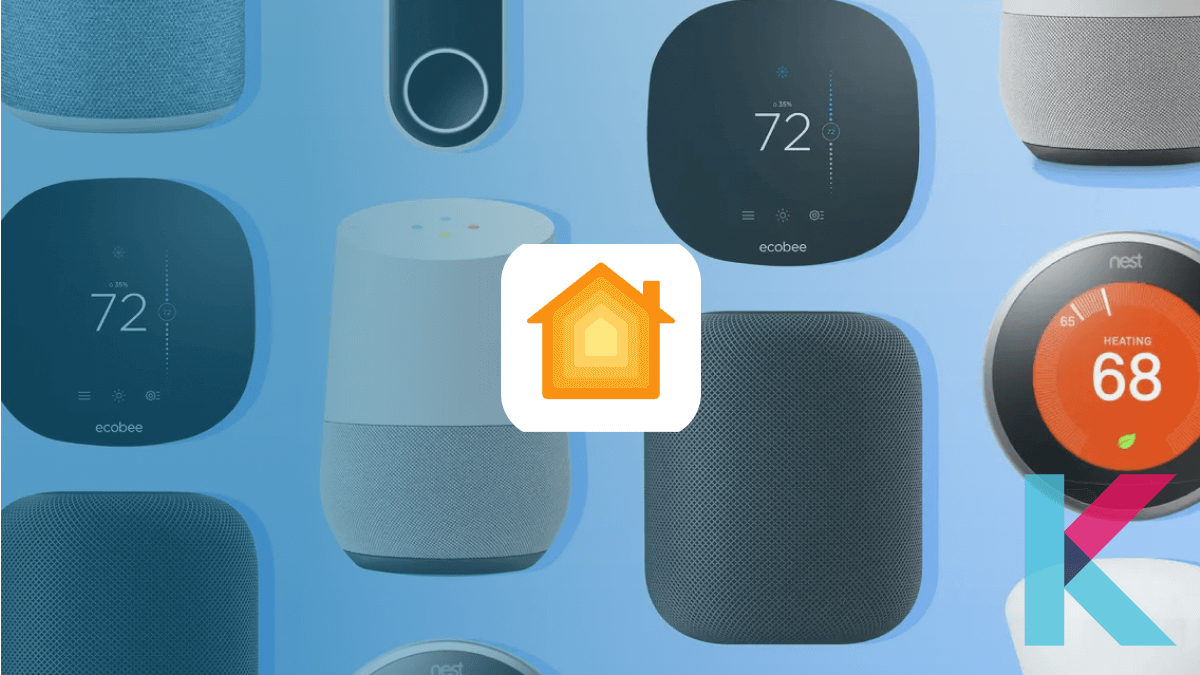
Ever wondered how to add your smart home device to HomeKit? Now, you can bring your non HomeKit compatible devices into the iOS Home App with following solutions.
Here are the best and possible ways to add any app to Apple HomeKit.
- Enomek (Recommended App Solution)
- Athom Bridge (Recommended Device Solution)
- HOOBS
- Homebridge
- Matter
- Raspberry Pi
Possible ways to add any smart Devices to HomeKit
If you are you looking to make your home smarter, adding devices to Apple HomeKit is a great way to do it. Let's see what are the best methods.
Enomek - HomeKit Enabler [Recommended App Solution]
Have you ever worried that your most wanted smart home devices aren't compatible with HomeKit? If so here is the best solution. The amazing app called as Enomek that support to add any smart home devices to Apple HomeKit.
Step guide for Enomek App Installation
Click here to learn more about Enomek - Add Any Device to Apple HomeKit
Athom Bridge [Recommended Device Soluion]
Athom Bridge is a small device that can add any smart home device to Apple HomeKit. It is also a pre-flashed Homebridge server. If you're looking for the most affordable way to add your smart home device to HomeKit, this is a great choice.
HOOBS
HOOBS is an improved version of Homebridge. Also, it stands for Homebridge Out Of Box System and adds some fantastic features like pre-built images. It includes a fully-assembled Raspberry Pi along with a copy of the HOOBS Homebridge server pre-installed on a microSD card. If you have any problems with installing HOOBS, Kodmy team or the HOOBS community may help you to resolve any problems.
Homebridge
Simply, Homebridge is a lightweight NodeJS server that emulates the iOS HomeKit API and also open-source software that supports hundreds of plugins. But, you need to have some coding experience to install Homebridge yourself.
Matter Controller
Matter is a new smart home standard that is designed to simplify everything about your smart home. Matter devices works with HomeKit, Google Home, or Alexa. So, if you want to add any smart home devices to Apple HomeKit, you can use Matter protocol.
Check here for learn more about Matter protocol to add any smart home devices to HomeKit.
Raspberry Pi
Raspberry Pi is the cheapest single-board computer. If you want to integrate your smart device using Raspberry Pi, you have to connect it to your home network. This computer runs on Linux and also provides a set of general purpose input and output (GPIO).
Get your Raspberry Pi todayIn this article, we'll focus on how to add non-HomeKit compatible smart home devices to Apple HomeKit. So, you can enjoy a fully integrated smart home.
Add unsupported Smart Home Devices to HomeKit
As mentioned above, You can add your non-HomeKit compatible smart home device to HomeKit using Enomek, Athom Bridge, HOOBS, Homebridge or Matter.
Let's have a look at the following articles describing Tuya, Ring, and myQ Device support to Apple Homekit. You can even add any Meross smart device to Apple HomeKit!
Add Tuya to HomeKit
Once you choose one of the above solution, you can add your device to HomeKit and control your Tuya device on HomeKit easily.
Add Ring to HomeKit
If you want to add your Ring devices to Aple HomeKit, you can choose the affordable App solution - Enomek or affordable device solution - Athom Bridge. Then, you can add your Ring devices to HomeKit and control your Ring device on HomeKit.
Add myQ to HomeKit
If you select HomeBridge solution, you need to install Homebridge, install myQ plugins, run plugins, and add Homebridge to HomeKit. Otherwise, you can select simple devices solution like HOOBS and Athom Bridge. So that, you can control your myQ devices on HomeKit.
Add Alexa to HomeKit
Further, if you want to add Alexa to HomeKit, you can find out How to use Alexa to control Apple HomeKit devices.
Add Shelly to HomeKit
Do you need to add your Shelly devices to Apple HomeKit? Select the best solution and then you can control your Shelly devices on HomeKit.
Add Roborock to HomeKit
If you want to add your favourite Xiaomi Roborock smart vacuum to Homekit, you can refer our guide to add Roborock to Apple HomeKit.
Add Nest to HomeKit
If you're a Nest smart home device user, you may be wondering How to connect Nest to Apple HomeKit.
You can find articles below to add your non-HomeKit smart home devices to Apple HomeKit.
- How to add IKEA to HomeKit?
- How to add ZigBee to HomeKit?
- How to add Samsung SmartThings to HomeKit?
- How to add Sonoff to HomeKit?
- How to add Eufy devices to HomeKit?
- How to add Govee devices to HomeKit?
- How to add Dyson devices to HomeKit?
- How to add SimpliSafe Devices to HomeKit?
- How to add any Wyze devices to HomeKit?
- How to add any eWeLink devices to HomeKit?
- How to add any ecobee devices to HomeKit?
Add HomeKit-compatible Smart Home Devices to HomeKit
You can look for the "Works with Apple HomeKit" label on the device package. Follow these steps to add your device.
-
Open the Home app.
On every Apple device running iOS 10 or later, there is a pre-installed version of the Home app. Open the app, then choose "Add Accessory" from the top menu.
-
Manually enter or scan the device's code.
The app will then prompt you to manually enter or scan the device's barcode with your camera. The code is typically printed on the item itself or in the user manual.
-
Follow the device-specific instructions.
When the device is recognized, the Home app will prompt you to couple it with HomeKit by following the steps unique to that device. To ensure a successful pairing, carefully follow the instructions.
-
Name your device and assign it to a room.
After the pairing is complete, you can name your device and assign it to a specific room. This will help you identify and control the device more easily within the Home app.
-
Enjoy your smart home!
Congratulations, you've successfully added a device to Apple HomeKit! Repeat the process for any other compatible devices you want to add, and start enjoying the convenience and flexibility of a smart home.
Matter Controller
Matter is a common protocol that can be used to communicate with smart home devices. If you have on of the following devices, you may use It as a matter controller and seamlessly integrate your devices to each other.
Apple Home
- Apple HomePod (second-gen)
- Apple HomePod Mini
- Apple TV 4K Wi-Fi + Ethernet (2022 version)
- Apple TV 4K (2021 version)
Google Home
- Nest Hub (second-gen)
- Nest Hub Max
Samsung SmartThings
- Aeotec SmartThings Smart Home Hub
- Samsung SmartThings Station
- Samsung SmartThings Hub v3
Sadly, Amazon Alexa is not compatible with Matter at the moment but according to the theverge.com it will receive an update in 2024.
FAQs about adding smart devices to HomeKit
1 Can you add any smart device to Apple home?
You can easily add HomeKit-compatible smart home devices to Apple HomeKit by opening the Apple Home App and adding accessories using your iPhone or iPad.
If you have non-HomeKit compatible smart home devices, you can add your smart home accessories using Enomek, Athom Bridge, HomeBridge, HOOBS, Raspberry Pi, Matter, Home Assistant, or any other third-party software or hardware solutions (Bridge to connect non-HomeKit compatible smart Home devices with Apple HomeKit).
2 What devices are compatible with HomeKit?
Smart thermostats: Ecobee, Honeywell Home, Sensi
Smart lighting: LIFX, Lutron, Nanoleaf, Philips Hue
Smart outlets: Eve, iDevices, Wemo
Smart locks: August, Kwikset, Schlage, Yale
Security cameras: Arlo, Eufy, Somfy
Security systems: Abode, Honeywell
Sensors: Fibaro, First Alert OneLink, iHome
Video doorbells: Logitech, Netatmo
Garage door openers: Chamberlain MyQ, LiftMaster MyQ
Air purifiers: Coway, Molekule
Humidifiers: De'Longhi
3 How do I add a smart home device to Alexa?
You can simply say "Alexa discover devices" by plugging in and powering up your smart home devices. If you want to add smart home devices via the Amazon Alexa App, you can open the Alexa app, select devices, choose the + icon, select Add Devices, choose device type and brand, and follow the on-screen prompts.
4 How do I add smart devices to Apple HomeKit?
Scan the setup QR-Code on your device to add devices to HomeKit. Another option is to hold your iPhone close to your device (isn't possible by all accessories). The device will pop up on your screen with a button 'Connect to your home'.
5 How to add your Apple TV to the Home app?
Open Settings on Apple TV, select Users and Accounts (Make sure your name is selected under Default User and that you're signed in to iCloud with the Apple ID that you used to set up your accessories in the Home app), go back to Apple TV Settings, and select AirPlay and HomeKit.