6 ways to add myQ devices to Apple HomeKit in 2024

If you are more into Apple HomeKit, you’re probably looking to integrate your myQ smart home devices with Apple HomeKit. So that, you can control your smart buddy with Apple’s Home App and Siri. Let's see How to add myQ to HomeKit.
How to integrate myQ with HomeKit?
You can find two easy ways to integrate your myQ devices with Apple HomeKit.
Software Based Solution
1. Enomek [Our Recommendation]
Enomek is the best software solution that empowers you to add all your favorite smart home devices to Apple HomeKit with easy solutions. Now, you can enhance your myQ expereince with HomeKit with HomeKit enabler. All you need to do is download the app and follow the instructions.
Step guide for Enomek App Installation
If you want to know more about Enomek, you can find Enomek - Add Any Device to Apple HomeKit article here.
2. Homebridge
Simply, Homebridge is a third-party software application that emulates the Apple HomeKit API. So, you can make everything HomeKit compatible using Homebridge. And, you can easily create myQ HomeKit bridge using this bridge solution.
Let's see step guide to add myQ devices to Apple HomeKit.
Hardware Based Solutions
1. Athom HomeKit Bridge [Cheapest way]
The ATHOM HomeKit Homebridge Hub is the easiest and most affordable way to add your non-HomeKit devices to HomeKit. It is a pre-flashed and specially compiled server that is designed to work seamlessly with Apple HomeKit.
Here are some of the benefits of using the ATHOM HomeKit Homebridge Hub:
- Seamless integration with Apple HomeKit
- Easy to set up
- Affordable
- Plug and Play solution
If you are looking for a way to add your non-HomeKit devices to HomeKit, the ATHOM HomeKit Homebridge Hub is a great option.
2. HOOBS
In simple terms, HOOBS is a plug-and-play hub that stands for Homebridge out of the box. It makes smart home devices compatible with your favorite ecosystem Apple HomeKit.
3. Raspberry Pi
The cheapest solution to add myQ devices to HomeKit is Raspberry Pi. It is a superb piece of hardware. It also works like a mini-computer. So, it can do many tasks like a traditional computer can do.
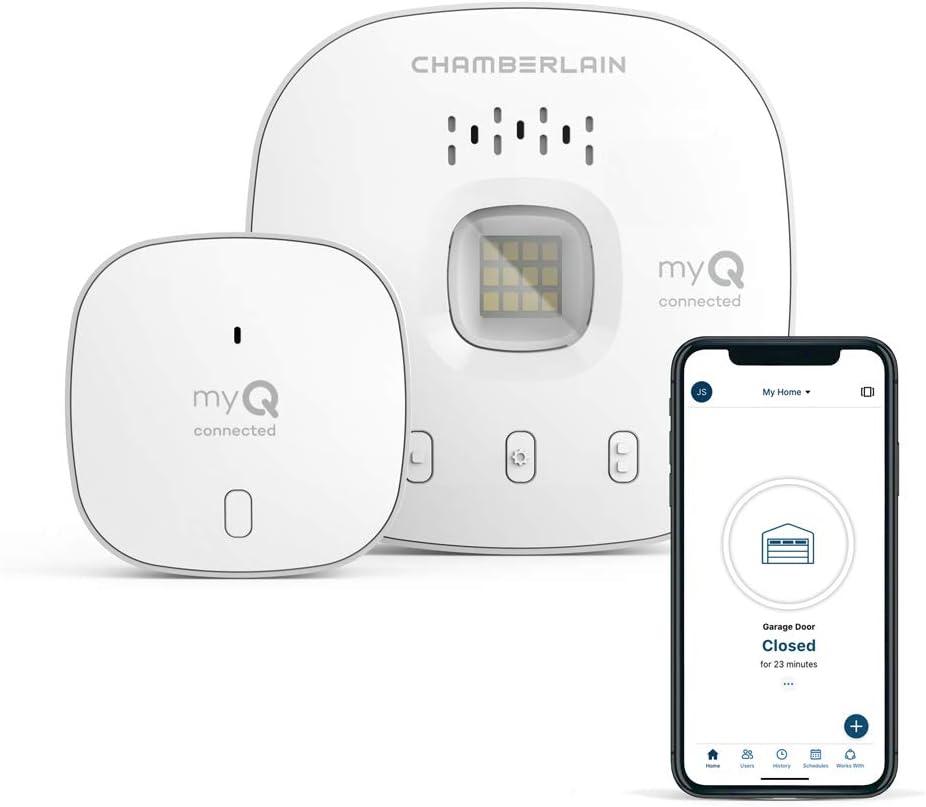
4. myQ Home Bridge
myQ Home Bridge is a hardware Homekit bridge from myQ home (Liftmaster HomeKit, Chamberlain bridge HomeKit) that makes myQ compatible with Apple’s HomeKit. You can control your garage doors and check the status from anywhere using this. Also, you can get real-time alerts as well as create schedules.


Setting up HomeKit myQ is easy using these methods. Also, you can connect any smart home device to HomeKit. You can use HomeKit myQ Bridge, HomeKit myQ HomeBridge or any of these integrations to myQ Apple Home Kit setup.
myQ Apple HomeKit Integration
myQ Smart Home can monitor and control your Garage Door and Lighting System from anywhere. And, you can get real time notification, set schedules and also share the myQ app with family members. Apple Home myQ
If you use Google Assistant or Amazon Alexa, you don’t need bridge like myQ Homebridge as it directly works with Google Assistant and Amazon Alexa. Get your myQ Smart Garage Control now.
Last year, in August, MyQ made an unexpected announcement regarding the discontinuation of the myQ Home Bridge Hub. Many users were surprised by this decision. While MyQ assured that existing Home Bridges would continue to function for the foreseeable future.
Does myQ work with HomeKit? Unfortunately, myQ doesn’t natively support Apple HomeKit. Even if myQ does not natively support HomeKit, you can control myQ with Apple HomeKit using a bridge solution. So, let's see how to integrate myQ Chamberlain with HomeKit.
What can you do with myQ-Homekit integration?
You can enhance your experience with myQ chamberlain HomeKit integration. Yeah! it is the simple way to a smarter garager. You can do many intereting things with myQ smart garage control.
Using Apple Home App and Siri Voice control, you can
- Open or close the Garage Door
- Operate your Home Lighting
- Check device status
- Putting your home on autopilot
MyQ HomeKit Integration Devices
- Add Chamberlain myQ Garage Door Opener to HomeKit
- Add Lift master myQ to HomeKit
- Add Liftmaster MyQ Control Panel to HomeKit
- Add myQ camera to HomeKit
- Add myQ Bridge to HomeKit
Step by Step guide to add myQ devices to Apple HomeKit using HomeBridge
- Add Homebridge to your device
- Install myQ Plugin
- Edit the configuration file
- Run the plugin
- Control devices on HomeKit
Below are detailed steps on how to add myQ devices to Apple HomeKit using Homebridge.
- Install Homebridge on your Mac/PC.
- Install the myQ Plugin:
- If Homebridge is installed, open it in your web browser using: http://homebridge
- Click on the plugin in the menu bar.
- Search for "Homebridge-myQ" in the menu bar and install the plugin.
- Alternatively, use the command line to install the Homebridge-myQ plugin:
- Open the Terminal on your PC or use the Homebridge UI.
- Install the myQ Homebridge plugin.
- Edit the Configuration File:
- Run the Plugin:
- Before running the plugin, navigate to the homebridge-myq directory using: cd ..
- Run the plugin using the appropriate command.
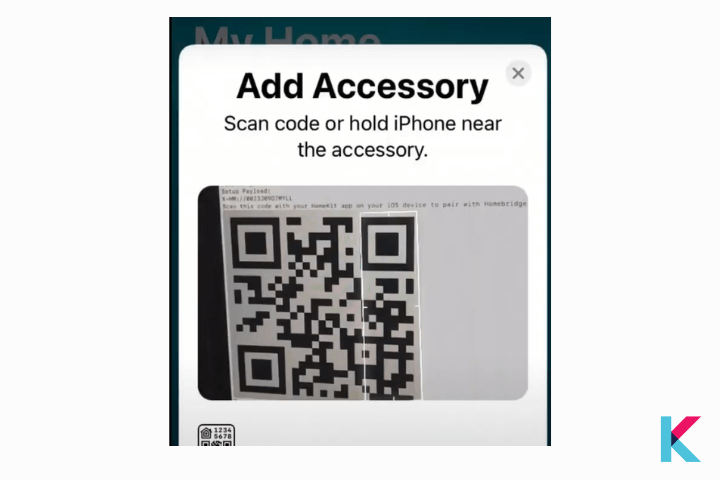
- Bridge to HomeKit:
- Open the Home app on your Apple device.
- Scan the QR code of the Homebridge UI to pair it with Homebridge.
- Control Devices on HomeKit:
After installing the myQ plugin, edit the configuration file before running the plugin. Configure the myQ Homebridge plugin directly or use the Homebridge Configuration web UI. Add the platform to your config.json in your home directory inside .homebridge.
Once paired, control all your myQ devices through the HomeKit interface. Bridge your Chamberlain myQ HomeKit devices with myQ HOOBS bridge for added convenience and functionality.
Step by Step guide to add myQ devices to Apple HomeKit using HOOBS
HOOBS is one of the most convenient options to set up your myQ device. Let’s see How to connect myQ with HomeKit using HOOBS
- Connect HOOBS to your Home Network
- Open the HOOBS interface on your browser
- Install the myQ Plugin for HOOBS
- Configuration of the myQ Plugin
- Add myQ accessory in Apple Home
Now, follow the detailed step guide to connect myQ with HomeKit using HOOBS below.
01. Connect HOOBS to your network
Step 1: First, you want to connect the HOOBS Hub to an electric socket
Step 2: Then, connect HOOBS to your home Wi-Fi (You can also manually attach HOOBS to your router using ethernet cables)
02. Set up a HOOBS account
Step 1: Open the HOOBS interface
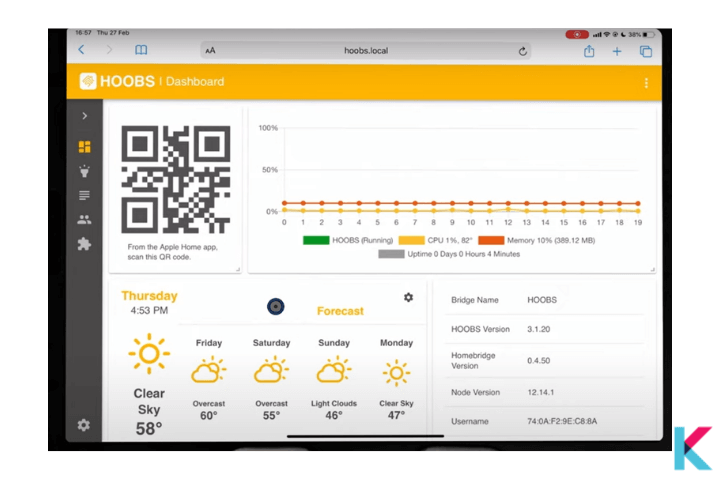
Step 2: Create an admin account on HOOBS to get it up by visiting http://hoods.local
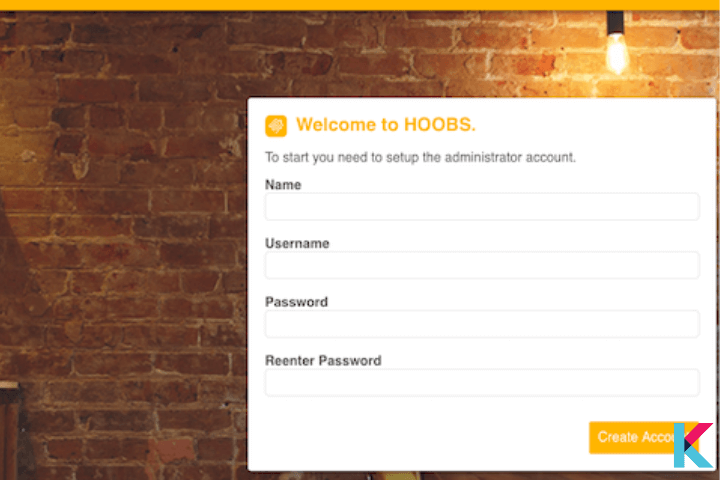
Step 3: Enter credential and click ‘Next’
03. Connect to HomeKit
After that, you’ll see two options and select the first one that ‘Connect to HomeKit’
Select Add button and next Add accessory. After that, you need to scan the QR code. After all, you can see HOOBS on your Home app.
04. Install myQ plugin
Step 1: Log in to the HOOBS account
Step 2: Go to the Home window and click on the plugin icon and Type “myQ”
Step 04: You can install myQ HOOBS plugin on your HOOBS homepage.
05. Configure the myQ plugin
Then you can see the option to configure your myQ plugin after installing the myQ plugin.
Add myQ as a platform on your HOOBS config page as shown below.
"platforms": [{
"platform": "myQ",
"email": "email@email.com",
"password": "password"
}]
06. Add myQ accessories on the HomeApp
Choose ‘add accessories’ on my My Home screen > Choose ‘I don’t have a code or cannot scan’ > Add the setup pin (under Home Setup Pin on your HOOBS home screen) > Select Add to complete the process
Step by Step guide to add myQ devices to Apple HomeKit using myQ Home Bridge
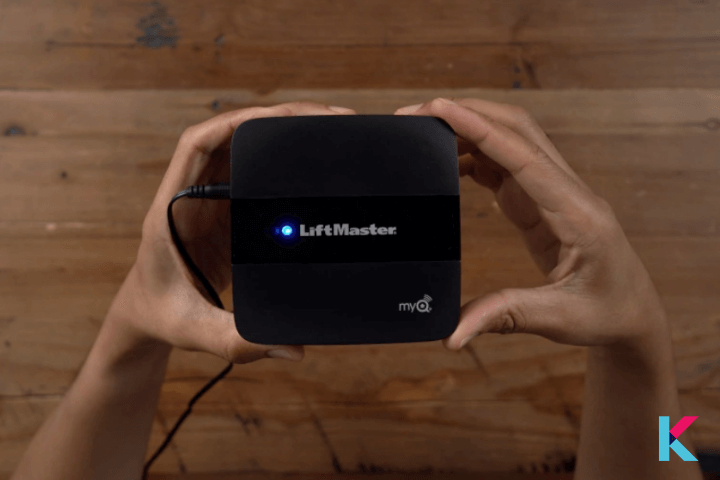
Step 1: Simply plug in myQ Homebridge device to get started. Once you plugged the myQ homebridge, then a blue light indicates that you are ready.
Step 2: You need to get your mobile device and before that make sure it’s connected to Wi-Fi
Step 3: Next, you have to download the myQ app on your iOS device. Download the latest version of the myQ app and once the myQ app is installed create an account.
Step 4: To add devices you can click the plus icon on the app. Discovered accessories tab > Select Homebridge
Step 5: You can find the accessory code for your HomeBridge device on the instruction menu. Otherwise, you can scan in the Homebridge accessory code label using your smartphone.
Step 6: After that, you’ll hear a beep sound and flash LED lights. And follow additional instructions on the app.
Step 7: press the physical learn button on your myQ device and also myQ app will lead to adding your existing device with prompts. When you follow the prompts you can easily sync and pair your LiftMaster and myQ. Finally, your myQ device will automatically appear on the My Home app in no time.
You can get Liftmaster 819LMB MyQ Home Bridge from Amazon. Click the image below.
myQ Smart Partners
- Alarm.com - You can Add myQ garage control to your Alarm.com (smart home security) app extends your peace of mind to the garage.
- Clare controls - Check whether your garage door is open or closed, set alerts and control your door from anywhere with the ClareHome app when you connect your myQ account via Clare Controls
- IFTTT - Create a super-customized smart garage system with myQ IFTTT
- Resideo - Control and management of your security system and other devices with myQ + Resideo
- Ring - You can control your myQ connected garage door from the Ring App,
- Vivint - Keep your home and garage with secure with myQ + Vivint
How do I unlink my myQ account from HomeKit?
Open your myQ app on your device > Tap on the menu icon in the top-left corner of the screen > Tap on Settings and then select Partner Integrations. > Tap on HomeKit and then select Unlink Account. > Confirm that you want to unlink your myQ account from HomeKit.
Will MyQ be Matter-compatible?
True the myQ devices aren't compatible with Matter Protocol. S0 that, myQ Matter integration is most requested feature for myQ users. But, we can expect chamberlain myQ support soon. If you're searching to connect your myQ garage door opener to HomeKit, you can user alternatives for myQ Apple HomeKit intergration.
Alternatives for Chamberlain myQ and HomeKit Integration
01. iSmartGate
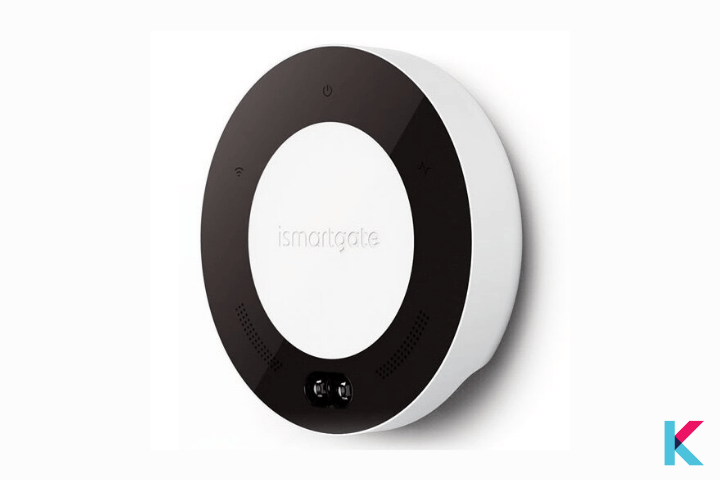
This iSmartGate works with all Garage openers such as Chamberlain and LiftMaster. So, you can easily integrate your Chamberlain myQ with Apple HomeKit, Google Home, Echo and IFTTT. This can be used as a third party residential garage door opener.
You can get iSmartGate Pro from Amazon. Click here

02. Meross Smart Wi-Fi
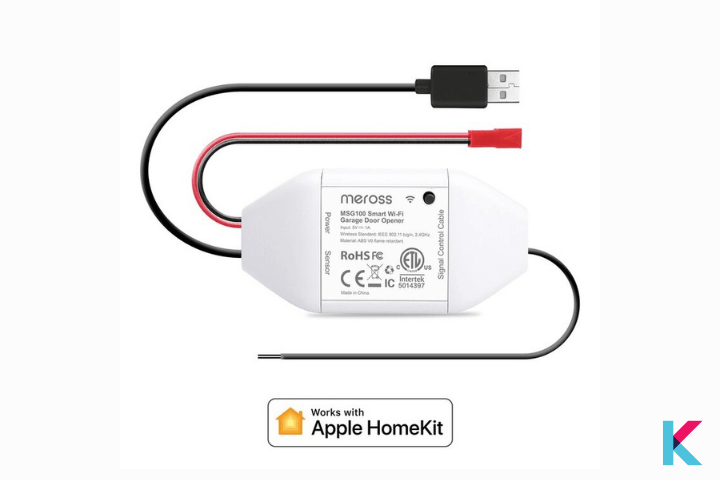
This Meross Smart Wi-Fi opener operates the same as iSmartGate. Meross compatible with Apple HomeKit, Amazon Alexa and Google Assistant. Not only that you can control it anywhere using Meross app.
Also, you can get the meross Smart Wi-Fi Garage Door Opener Remote from Amazon for $34.17. Click here

Want to add your myQ with Apple HomeKit? As mentioned above, you can create my Q Home Kit Automation easily with these options. So, you're unable to add myQ to Apple Home Kit without Bridge solution. myQ Home Bridge is the official solution from myQ Home. But using HOOBS, you can connect more than one brand. So, you can create myQ and Apple home Kit bridge easily with Homebridge solutions.
Further, if you're interested in the HomeKit integration, check out our step guide to add Ring devices with Apple HomeKit and add Tuya devices with Apple HomeKit.
FAQs about myQ and Apple HomeKit
1 How do I control multiple myQ devices with the Apple Home app?
If you want to link your myQ devices with the Apple Home app, you can simply link using the myQ connected garage. You can use the new myQ Bridge Homekit device or open-source third-party software solutions to add your myQ with Apple HomeKit. Once you connected to Apple HomeKit you’ll have the ability to control multiple myQ devices with the Apple Home app.
2 How do I connect myQ to HomeKit?
myQ and Home are incompatible technologies. But, there are options to connect myQ to HomeKit. You can use the official myQ HomeBridge or third-party garage door opener to connect myQ with HomeKit. And you can also use software and hardware Hambridge solutions such as Homebridge, HOOBS, and Raspberry Pi.
3 How do I get myQ on Apple CarPlay?
If you're more into Apple CarPlay, you probably want to control your Garage door with Apple CarPlay. Yes, you can get your myQ on Apple CarPlay.
4 Does myQ Smart garage Hub work with HomeKit?
No. If you want to work with HomeKit, you’ll have to use myQ Home Bridge instead of the myQ Smart garage hub. Otherwise, if you want to integrate your myQ Smart Garage Hub with HomeKit, you need an open-source Homebridge solution for that such as HOOBS.
5 Can I use myQ with Siri?
The answer is Yes. If you want to use myQ with Siri (myQ Siri), you have to use myQ HomeBridge hub or bridge solutions (Homebridge, HOOBS) for that..
6 Do I need a hub to connect myQ to HomeKit?
If you want to add your garage door opener to Homekit, you can use a third-party garage door opener such as iSmartGate or Meross. But, if you think to use other myQ devices such as lighting solutions, you’ll need to have myQ Home Bridge Hub or other Homebridge solutions.
7 Does LiftMaster myQ work with HomeKit?
No. LiftMaster myQ does not natively support Apple HomeKit. LiftMaster and Chamberlain actually belong to the same parent company. So, you can connect Lift Master to HomeKit using myQ Bridge like Chamberlain my Q Home Kit.
8 Why is myQ Home Bridge not showing up in HomeKit?
You need to make sure that Bluetooth is enabled. And then, you can try to remove the accessory and set up again if the issue persists.
9 How do I make myQ home bridge discoverable?
If you want to transfer myQ devices for myQ HomeBridge, you need to make sure your myQ Garage or Smart Garage Hub is successfully set up and added to your myQ account. Also, while performing the setup steps, it is better to remove the myQ Garage or Smart Garage Hub from where it is currently installed.
If you have one door sensor paired with your myQ Garage or Smart Garage Hub, you can follow these steps:
- Press the #1 button and release it twice on your myQ Home Bridge. All three LEDs will turn on.
- Press the #1 button and release it on the existing Hub. This will transfer the garage opener from the hub to your myQ Bridge HomeKit.
- Unplug your hub, plug it back in, and open the myQ app.
10 How to Link MYQ to Google Home?
To add myQ to Google Assistant, follow these steps:
- Open the Google Assistant.
- Click the compass located at the bottom right corner.
- Type "myQ" in the search bar and select the myQ app.
- Click the link and type your credentials.
- Subscribe to Google Assistant's MyQ subscription by going to https://www.myq.com/works-with-myq.
- Login to your account and finalize the transaction.
11 How to connect myQ Garage with Alexa?
There is no native support for Alexa. To connect myQ with Alexa, you need to use the IFTTT platform. Follow these steps:
- Download the IFTTT app.
- Create an IFTTT subscription.