How to connect Tesla to Apple HomeKit
Have you ever wondered how to control your Tesla car’s accessories with Apple HomeKit? It's not an easy task. But, you’re in luck since you can easily add your Tesla to Apple HomeKit using this guide. Homebridge is the best solution to connect your Tesla to Apple HomeKit. So, you can control Tesla accessories using Apple Home App and Siri voice control. Let’s dive deeper into Tesla Apple HomeKit integration.
Getting to know Tesla Vehicles and Apple HomeKit
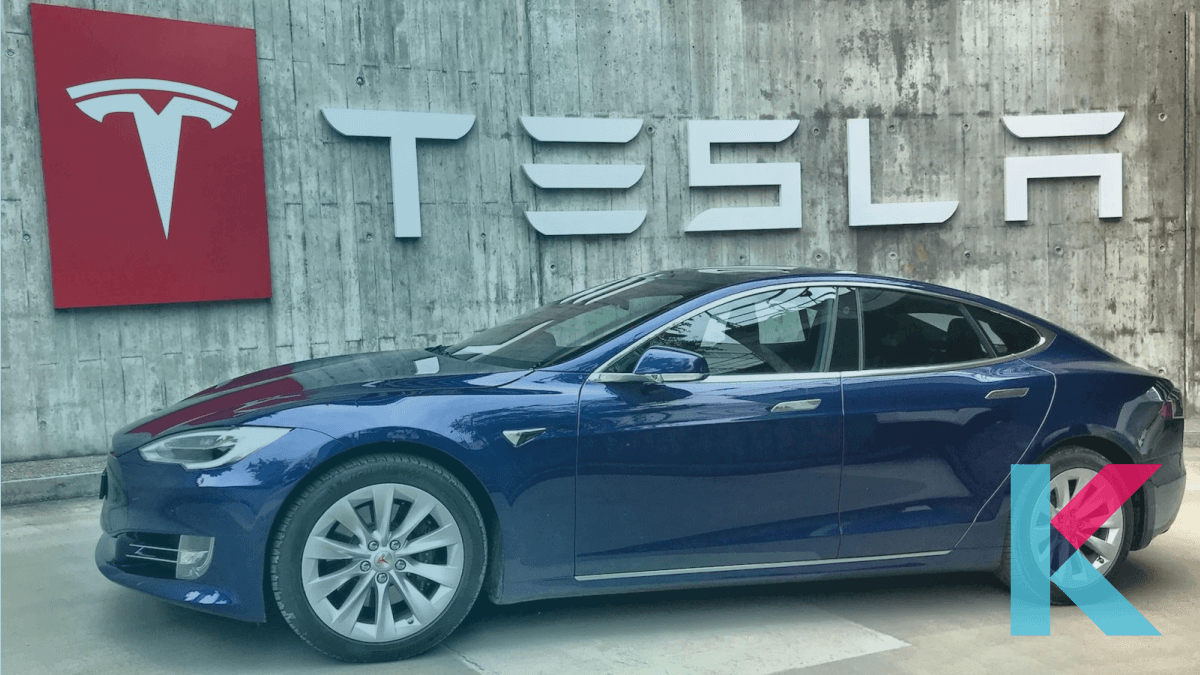
Tesla is one of the world’s most valuable companies and automakers. They design electric vehicles, battery energy storage, solar panels and many more Tesla accessories. When we look at the current lineup, it includes the Tesla Model 3, Model S, Model X and Model Y.
Simply, Apple HomeKit is Apple’s smart home platform as well as their “Internet of Things” solution. You can control Homekit compatible smart home devices using Apple Home App and Siri voice control. Homekit is not only for Homekit enabled devices, but also for Homekit incompatible devices. Yeah! You can add any Smart Home devices to Apple HomeKit now.

Story behind Homekit + Tesla integration
Do you know the story of Tesla and Apple HomeKit? Now you are able to control your Tesla accessories and get vehicle updates such as charge level, charging status, pre-conditioning, climate control and locking and unlocking Tesla car’s door with Tesla Apple HomeKit integration. And, you only need to add the Homebridge plugin to your device.
Let’s find how to add Tesla to Apple HomeKit using the Homebridge plugin.
Plus, you can control your Tesla with Apple Home App and Siri after adding the Homebridge plugin. Also, you can easily create automation based on battery level and preset temperature of the car. Integration with Homekit opens up the possibility to not only create automation but also create useful shortcuts and more for you.
Homebridge Plugins for Tesla
Are you new to Homebridge? Simply put, Homebridge is a node JS server that can be integrated with so many smart home devices. Also Homebridge plugins make automation easier than ever. Below are some Tesla homebridge plugins for you.
homebridge-tesla
This Homebridge plugin for Tesla allows you to control your Tesla vehicle using Apple Home App and Siri voice control. Also, you can do amazing things with this tesla homebridge integration like unlocking the vehicle, opening the trunk, and turning on the climate control. And yes! This is one of the most incredible things that can be done with a homebridge tesla.
Homebridge-tesla-powerwall
This plugin enables you to create a powerwall-homekit bridge. The Tesla Powerwall homebridge plugin communicates with the Tesla Powerwall. Also, this plugin installed, it has powerwall and grid components. Also, Powerwall homekit service has several characteristics such as charge level, charging state and low battery. On the other hand, Grid is a sensor accessory that provides an “open” or “Closed” state to the sensor.
Also, Below are some other plugins for your Tesla vehicle. You can also use these plugins to add Tesla to Apple HomeKit.
- Homebridge-my-tesla
- Teslams plugin
How to connect Tesla to Apple HomeKit using Homebridge
Step by steps to add your Tesla to Apple HomeKit
- Add Homebridge to your device
- Install Tesla plugin
- Edit the configuration file
- Run the plugin
- Control Tesla accessories on HomeKit
01. Install Homebridge to Mac/PC
First, you need to install Homebridge to your device before adding Tesla to Apple HomeKit. If you want to know more about how to install Homebridge to your device, you can find out how to add any smart home devices to the Apple HomeKit article.
If you’re in trouble with installing Homebridge yourself, you can ask Kodmy experts to help you in this matter.
02. Install Tesla plugin
Once you install the Homebridge, then you want to install homebridge-tesla plugin
$ sudo npm install homebridge-tesla -g --unsafe-perm03. Edit the configuration file
Now, you have installed the tesla plugin. Before you run the Tesla homebridge, you need to configure your ~/.homebridge/config.json with the following platform.
{
"bridge":{
"name":"Tesla",
"username":"11:11:11:11:11:21",
"port":51821,
"pin":"111-11-120"
},

"description":"Sample configuration file",
"platforms":[
{
"platform":"Tesla",
"name":"Tesla",
"debug":true,
"vehicles":[

{
"name":"Model 3",
"vin":"your-vin-number",
"token":"your-refresh-token",
"expose":[
"ping",
"defrost",
"ventilation",
"trunk",
"hvac",
"doors",
"insideTemperature",
"steeringWheelHeater"
],

"accessories":{
"ping":{
"name":"Ping",
"requiredBatteryLevel":50,
"timerInterval":0.25
},

"defrost":{
"name":"Avfrostning"
},

"ventilation":{
"name":"Ventilation"
},

"trunk":{
"name":"Bakluckan"
},

"charging":{
"name":"Laddning"
},

"hvac":{
"name":"Fläkten",
"requiredBatteryLevel":20
},

"doors":{
"name":"Dörren",
"remoteStartDrivePassword":"omit-or-your-tessla-password"
},

"outsideTemperature":{
"name":"Ute"
},

"insideTemperature":{
"name":"Inne"
},

"thermostat":{
"name":"Termostat",
"requiredBatteryLevel":40,
"timerInterval":2
},

"steeringWheelHeater":{
"name":"Rattvärme"
}
}
}
]
}
]
}
If you’re keen to add more controls to Apple HomeKit, you can use this plugin. This plugin can display temperature, open the doors, and control the HVAC currently.
Switches of added Accessories
- Ping
- Charging
- Door
- Fan
- Inside temperature
- Outside temperature
- Thermostat
Ping
Want your Tesla to never go into deep sleep again? Then, you can use the Ping switch to update the state of your car using:
"ping": {
"name": "Ping",
"requiredBatteryLevel": 40,
"timerInterval": 5
}
Charging
If you want to know the charging state, you can use this switch.
"charging": {
"name": "Charging"
}
Door
You can be able to lock and unlock your Tesla car’s door using this door switch.
"doors": {
"name": "Door",
"remoteStartDrivePassword":
"tesla-login-password"
}
Fan
You can use this switch to turn the HVAC ON or OFF.
"hvac": {
"name": "Fläkten",
"requiredBatteryLevel": 20
}
Inside and outside temperature
If you want to display the inside temperature, you can use this switch.
"insideTemperature": {
"name": "Inside"
}
Also, you can see the outside temperature using this outside switch.
"outsideTemperature": {
"name": "Outside"
}
Thermostat
You can control the inside temperature of your Tesla and use automation to turn this switch on at a specific time.
"thermostat": {
"name": "Termostat",
"requiredBatteryLevel": 40,
"timerInterval": 2
}Name - Localized name in the Apple Home app
Required Battery Level - Required battery level to operate
Timer Interval - Number of minutes between checking the temperature.
04. Run the plugin
First, you want to navigate to the directory using cd..
Then, you can run the Tesla plugin using
homebridge -D -U ./config/ -P ./05. Add Tesla accessories to your Home App
Step 01: First, you want to open Apple Home App on your iPhone or Apple Device
Step 02: Then, you can click on “Add accessory”
Step 03: You can choose option “I don’t have a code or can’t scan”
Step 04: Finally, you can see it on screen, and to add Tesla to Apple Home, enter the 8 digit setup code or scan the QR code of the homebridge UI.
Remote for Tesla
Rego app is the world's first authorized Tesla app with Siri/shortcuts and Apple watch support for your Tesla Model S, 3, X, Y and more. You can even get and control your car status without opening the app. You can also automate or schedule commands based on triggers such as when you’re sleeping and when you’re driving.
Apple Siri commands and Apple Shortcuts for Tesla
Now it’s time to walk through Apple Siri commands and Apple shortcuts for your Tesla. If you want to get information and control your Tesla, these Siri commands and apple shortcuts can be used. Are you keen to know how to create Apple shortcuts and Siri commands that natively work with the Tesla app?
Before you use these commands, you need to install the Tesla app on your phone. Then you need to open it. And, you can use the following Siri commands to control your Tesla.
Hey Siri, what is my car's charge?
Hey Siri, how much charge does my car have?
Hey siri What's left in my car's battery?
Hey Siri Do I need to charge my car?
Hey siri activate my cars audible signals
Hey siri honk the horn
Hey siri flash my cars headlights
Hey siri lock my car
Hey siri unlock my car
Hey siri Open the trunk
Hey siri Open the windows
Hey siri Open the charge port
Hey Siri Where is my car?
Apart from these, you can control your smart home from your Tesla. If you need to find what are automatic garage door openers for Apple CarPlay.
Trigger HomeKit accessories using Tesla Homelink
You know what Tesla has an awesome feature to trigger Homelink enabled Garage door opener using their on board GPS presence detection. So, your Garage door automatically opens and closes. Does Tesla model 3 2021 have Homelink? If you have a Tesla Model 3 or Model Y, this Homelink door opener can be installed as a retrofit. Let's know more about Tesla HomeLink - Automatic Garage Door Opener.
Apple-oriented vehicle updates
Apple Carplay
Apple CarPlay is available in most new vehicles. You can use Apple CarPlay in your Tesla using the in-car browser. This browser is used to connect to display the carplay interface on Tesla’s screen and Raspberry Pi. But, Tesla doesn't offer official support to Apple CarPlay.
Apple Car Keys
Apple oriented new services are expanding. Apple Car Key is one of the Apple integrated features to vehicles. And, drivers can replace their physical Key with their iPhones to lock and unlock their car. Apple collaborated with brands such as BMW, Hyundai Genesis and Kia to bring this digital car key features. Tesla cars will also be compatible with Apple Car Key features in the near future.
More CarPlay related products
If you're interested in quickly convert your wired CarPlay to wireless CarPlay, you can buy the following adapters from Amazon.