Athom Homey Pro - Add any Smart Home Devices to Apple HomeKit
Getting used to many smart home devices produced by different manufacturers that work under different ecosystems might be frustrating sometimes. But the newest Homey Pro by Athom will be a great solution to bring every smart home device under the same roof.
After the release of the Athom Homey Bridge, the Athom HomeBridge system caught the attention of the users. It is one of the best bridge models that is low in cost. The new pro model breaks in a lot of limitations in the Homey Bridge and it also promises to support multiple protocols including Matter and Thread.
Let us take you through the basics and setup process of Athom Homey Pro 2024 and how to integrate it with smart home devices from different manufacturers. This ultimate smart home hub can be purchased from Kodmy now.
What is ATHOM Homey Pro?
Athom Homey Pro is a smart hub designed to control all smart home devices efficiently. It also gives the ability to control all the devices from anywhere just with a single tap.
This 2023 updated smart hub version also offers the flexibility of custom control which enables the ability to unify various smart home devices. So, you will be able to combine several smart devices to add different features to your smart home. This powerful structure, which is upgraded every day with the effort of Athom will definitely become a competitor for HOOBS and Enomek.
Homey Pro Specs
Processor - 1.8 GHz Quad Core ARM processor.
Memory - 2 GB of RAM
Storage - 8 GB including app storage, backup, and media
Wi-Fi - 2.4 GHz and 5 GHz
Bluetooth - 5.0 LE
Backup - Over LAN or cloud
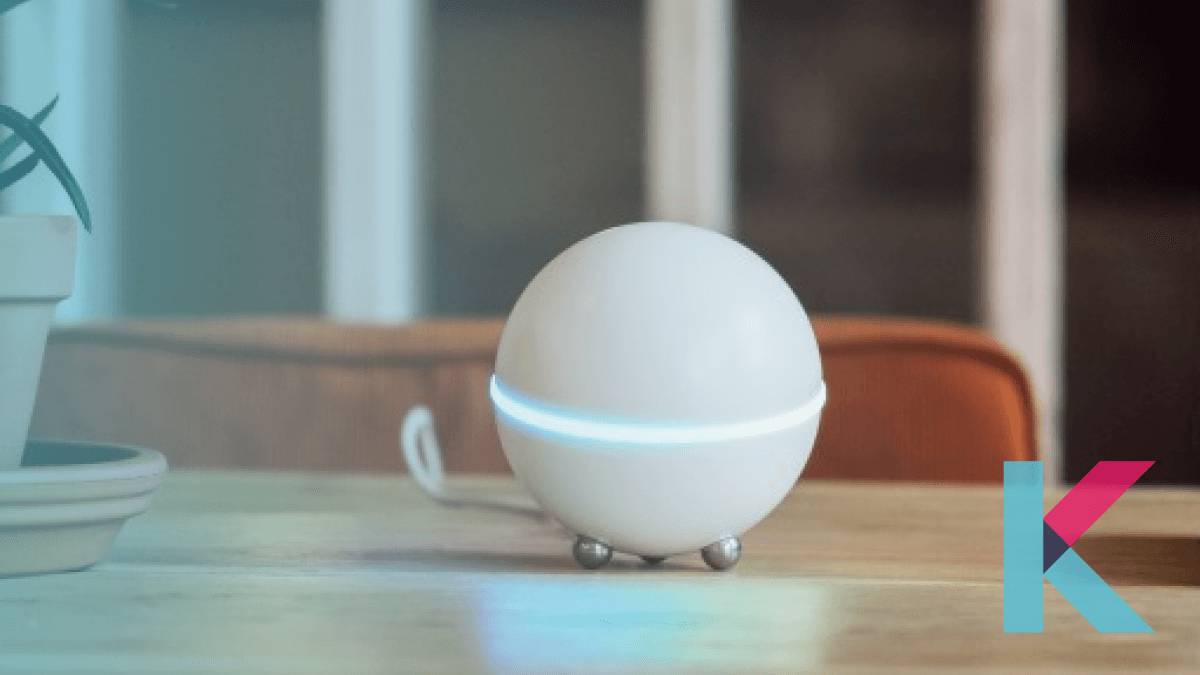
It can support ZigBee, Matter, Thread, and more protocols at the same time. The system does not require internet at all as it can work offline as well. The simplest design with RGB lighting adds a sweet little touch to your home while making your smart home a comfortable place to live in.
First time setting up for Homey Pro
If you have just bought the Homey Pro HomeKit, follow these steps to set it up.
- Install Homey Pro by plugging it into a power adapter with the USB-C cable.
- You will be able to see the RGB ring light circling in white. It will turn blue within a few minutes antes and now it's ready to set up.
- Download the Homey app on your device and sign in or sign up.
- Select ‘New Homey’ and follow the setup instructions.
- Make sure that Bluetooth is on all the smart home devices and give the Homey app permission to detect them.
It is recommended to place your Homey Pro in the central area of your home. This will ensure good coverage.
Adding smart home devices to HomeKit using Homey Pro
The new Homey Pro has built-in support for Apple HomeKit. It gives the ability to connect directly without HomeBridge and control all the smart home devices from your IOS device. With this support, Apple users are now much happier to use Homey Pro.
Apple HomeKit Experiment gives the opportunity to integrate any smart home device with Homey Pro. Here are the steps on how to do it,
- To enable the experiment, go to more->settings->experiments. A PIN code will pop up. Note it down as you will need it later.
- Pair the Homey Pro with Apple HomeKit by tapping on ‘+’ on the left corner of the HomeKit app. Then click on ‘add accessory’ followed by ‘more options’.
- Select Homey Pro from the list and enter the PIN that was noted before.
- Homey Pro is now enabled on Apple HomeKit and all the devices that are connected to the Homey hub will now show up in the app. You can control all the devices using Apple Home app or Siri.
Keep in mind that this feature is still under experimentation, and it could change anytime. So, it should be used at your own risk.
Homey Pro and Homey Flows
Homey Pro comes with one of the most fundamental advantages that can be integrated to the smart home automation concept, and that is Flows. With this feature, smart home devices can be grouped together to perform different tasks automatically. This automation can also be known as Scenes.
‘Flows’ is the term that Homey pro uses for ‘Scenes’. Homey Pro has two different ways to create these flows: Basic Flows and Advanced Flows.
Basic Flows
This is a very simple way of creating flows within the Homey app. Even though they are named as basic, they are still powerful and cover a significant part in creating scenes. These are very easy to create directly from the app.
Advanced Flows
With this feature, you are able to automate the entire home by creating different scenes. These are mostly powerful, logic driven scenes that can be done simply through a drag-and-drop interface. It can basically cover up different scenes within a home including lighting, temperature control and security.
With Homey Pro Apps, Athom has created a fantastic product that can gather multiple smart home devices under the same roof. This option opens up the door for setting up and controlling many devices across different brands and protocols that allow the creating of automated tasks regardless of the manufacturer. This might be an overwhelming process at first but eventually, it will be fun to work with if you are a smart home fan.
FAQs about Homey Pro
1 Does Homey Pro support ZigBee and Z-wave?
Yes, it does support these protocols.
2 Can I use a Homey ethernet adapter with Homey Pro?
Yes. If you want to connect Homey Pro to your WLAN, you can use it.
3 What brands does Homey support?
Homey Pro supports brands including IKEA, Sonos, Honeywell, Xiaomi, Philips Hue, etc.
4 How much is Homey Pro?
Homey Pro is currently priced at $399.
5 How do I add Homey Bridge to Homey Pro 2023?
Currently, you cannot integrate Homey Pro with Homebridge. But Athom has announced that they are working