How to add any Aeotec Smart Devices to Apple HomeKit
I wanted to control my Aeotec Smart Devices with Apple Home but found that my Aeotec devices aren’t compatible with Apple HomeKit. I’ve found some great solutions to help integrate these devices with Apple HomeKit.
This is why when we want to bridge the gap between the device and HomeKit, we must use third-party solutions. After that, you can use the Apple Home App to control your Aeotec devices. To help you in finding the best option for you, I have prepared a list of methods I have personally used!
- Enomek [Our Recommendation]
- Athom Bridge [Cheapest way]
- HOOBS
- HomeBridge
Enomek [Recommended Solution]
Enomek is the best solution for connecting aeotec to HomeKit. With just a few steps, Enomek HomeKit Enabler allows for seamless interaction with Apple HomeKit. The greatest way to integrate any smart home devices with Apple HomeKit via Enomek.
Step guide for Enomek App Installation
Why should you download Enomek?
- Seamless Integration: Enomek makes it easy to connect your smart devices to HomeKit, simplifying your smart home setup.
- User-Friendly Guides: It offers clear, step-by-step instructions, so you can get everything up and running without hassle.
- Versatile Compatibility: Enomek works with a wide range of smart devices, making it a flexible choice for any home automation needs.
- Reliable Performance: As a HomeKit enabler, Enomek ensures smooth and reliable operation of your smart home system.
- Enhanced Control: Downloading Enomek gives you better control over your smart devices through HomeKit, improving your overall home automation experience.
Not only aeotec smart home products, but you can also add any Sonoff Smart Home devices to Apple HomeKit and even add Dyson Smart Home device to Apple HomeKit or other incompatible devices using Enomek.
Athom Bridge [Cheapest way]
This is the most affordable way to connect your Tuya devices to HomeKit, and it's designed to be super simple to use. If you're aiming to create a smarter home and need a cost-effective, easy solution to integrate your non-HomeKit devices into HomeKit, the ATHOM HomeKit Bridge is your answer. You can even add your SwitchBot devices to Apple HomeKit with this and it is amazing!
HOOBS (HomeBridge Out of the Box)
HOOBS Solution is another popular way to add aeotec apple HomeKit. HOOBS is a plug-and-play method for adding your aeotec devices to HomeKit, in contrast to HomeBridge.
Why should you get HOOBS?
- User-Friendly Setup
- Broad Device Compatibility
- Enhanced HomeKit Experience
- Customizable and Expandable
- Reliable Performance
How To Add Aeotec to HomeKit Using HOOBS?
- Click the Bridges option.
- Click Add Bridge.
- Enter a new bridge name (Ex: “Aeotec Bridge”).
- Click Save. After that, you can now see a notification in the bottom right corner.
- Tap on the bridge name in the list. then a QR code will appear for HomeKit pairing.
- Go through the HomeKit ‘Add Accessory’ and scan the code.
- Choose a Room to place the bridge.
HomeBridge Solution
You can use HomeBridge, an open-source software platform, to integrate devices that aren’t natively compatible with Apple HomeKit. It’s a great solution if you’re technically inclined, as it acts as a bridge between non-HomeKit devices and HomeKit.
Now that you know how to add your smart devices to Apple HomeKit, you can explore further by checking out our article on how to add any smart home device to HomeKit. Let’s dive deeper into the world of Apple HomeKit integration!
How To Add Aeotec to HomeKit Using HomeBridge?
- Install HomeBridge
- Install Node.js
- You can use the HomeBridge image, which simplifies the installation.
- Install the HomeBridge Config UI X Plugin
- Install Aeotec Plugin for HomeBridge
- In the terminal, run: npm install -g homebridge-aeotec.
- Configure HomeBridge
- Open the HomeBridge configuration file. You can usually find it at ~/.homebridge/config.json.
- Add the Aeotec plugin configuration to the file. Your configuration might look something like this:
- Make sure to replace "192.168.1.x" with the IP address of your Aeotec device and enter the appropriate username and password.
- Restart HomeBridge
- Restart HomeBridge to apply the new configuration. You can usually do this via the HomeBridge UI or by stopping and starting the HomeBridge service.
- Add HomeBridge to Apple HomeKit
- Open the Home app on your iOS device.
- Tap the “+” icon to add a new accessory.
- Select “Add Accessory” and scan the QR code provided by HomeBridge or manually enter the setup code.
- Verify Device Integration
- Once added, your Aeotec devices should appear in the home app. Test them to ensure they are functioning as expected.
For Windows/Mac/Linux:
For Raspberry Pi:
{
  "platforms": [
    {
      "platform": "Aeotec",
      "name": "Aeotec",
      "host": "192.168.1.x",
      "username": "your-username",
      "password": "your-password"
    }
  ]
}
What to do with Aeotec Matter Devices
- Integration with Smart Home Ecosystems
- Enhanced Interoperability
- Smart Home Automation
- Remote Control and Monitoring
- Energy Monitoring and Efficiency
Aeotec Compatible Devices
Aeotec offers a range of smart home devices that are compatible with various smart home platforms, including HomeKit through HomeBridge.
Aeotec Smart Home Hub
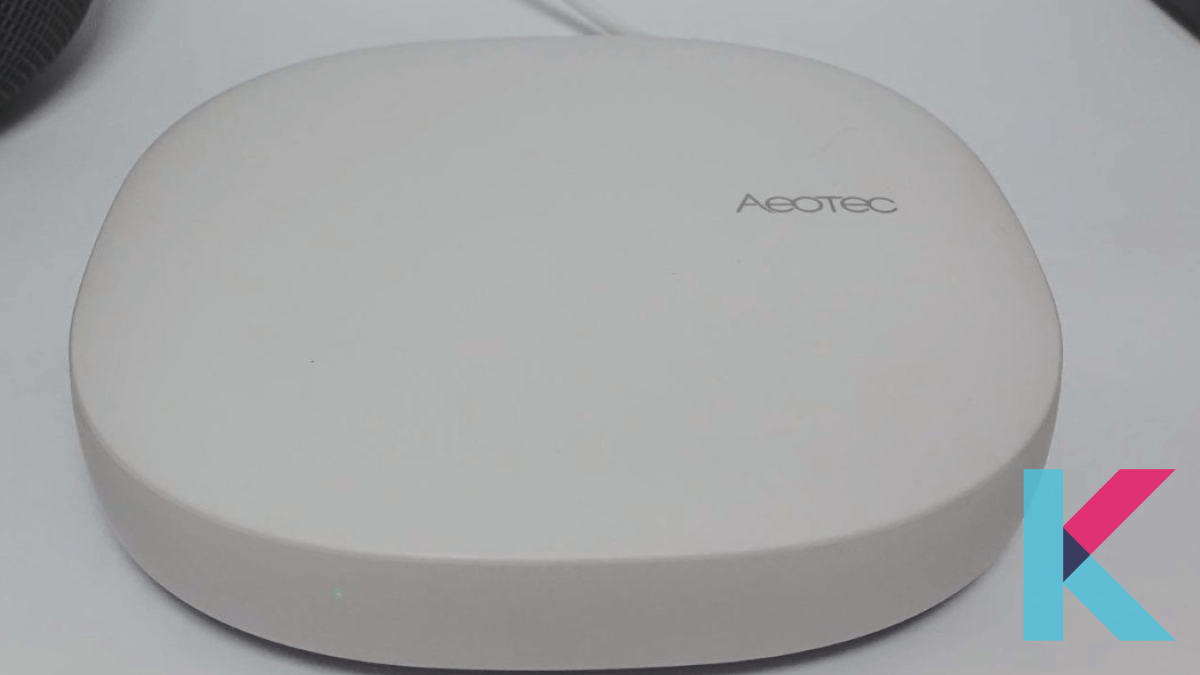
The aeotec smart home hub is a one-stop shop for your smart home needs. It works with various devices like Z-Wave and Wi-Fi devices. And it handles voice commands from Alexa and Google Assistant, working with Aeotec Smart home hub is also very easy for you.
Pros and Cons of Aeotec Smart Home Hub
Pros
- Works with Zigbee (including Philips Hue), Z-Wave, Matter and Wi-Fi devices
- Fits perfectly with SmartThings
- Easy-to-use software
- Cost-Effective
- Connects to your router via either Ethernet or Wi-Fi
- Comes with an Ethernet cable, AC adapter, and a start-up booklet
Cons
- Doesn’t work with Apple’s HomeKit ecosystem
- Needs a broadband connection to function
- Can be tricky to migrate to this hub
- Limited Hardware Support
- No Battery Backup
Heavy Duty Outdoor Smart Switch Gen5
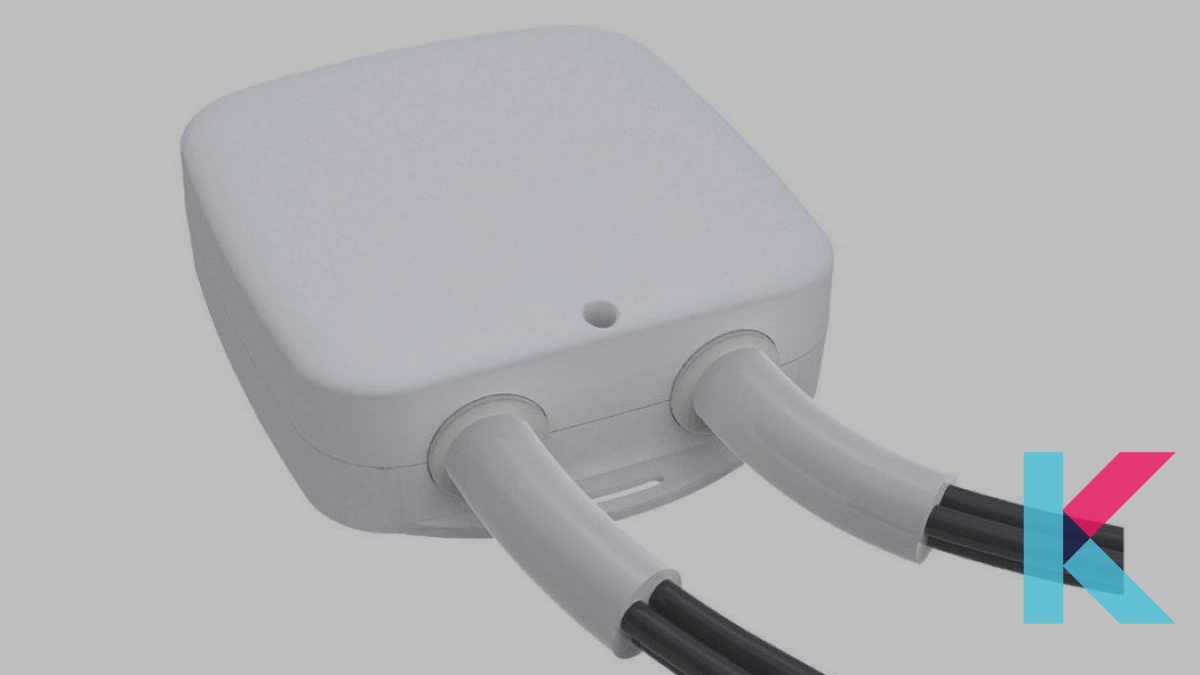
The Aeotec Heavy Duty Smart Switch is designed to control and monitor high-powered appliances and utilities. It allows you to manage these heavy-duty devices wirelessly or through automated schedules, offering both remote control and programmable functionality.
Pros and Cons of Heavy Duty Outdoor Smart Switch Gen5
Pros
- Enables Z-Wave On/Off control for a heavy-duty wired load
- Supports heavy loads up to 40A/9600W/5HP
- Responds to on/off commands from a Z-Wave controller
- Reports energy usage in Watts or KWh
- Repeats Z-Wave commands to their destinations
- Indoor and Outdoor Use
Cons
- Must be enrolled into a Z-Wave network controller
Multisensor 7
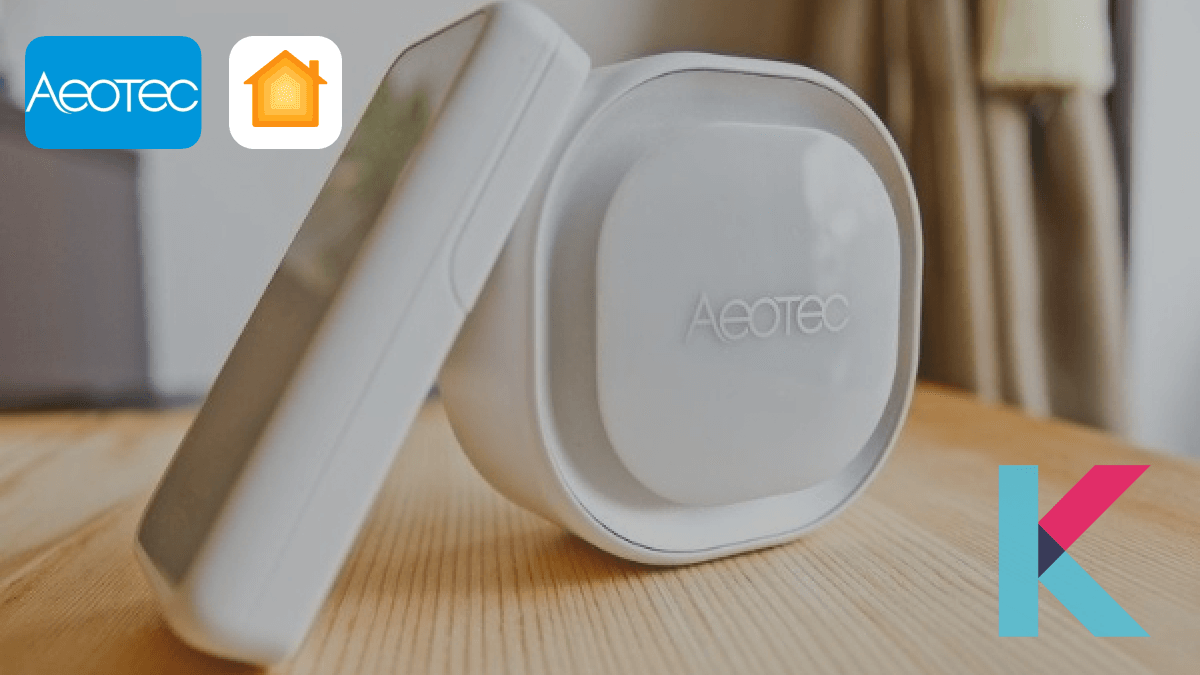
The Aeotec MultiSensor 7 is a versatile tool for optimizing your entire home. With a 10-meter range and a 120° field of view, it captures motion data that can enhance security, manage heating, and save energy.
Pros and Cons of Multisensor 7
Pros
- Improved sensor technology
- Extended battery life
- Compact design
- Z-Wave Plus V2 compatibility
Cons
- Higher price
- Less proven track record
How to use Siri with Aeotec?
Working together with Aeotec Siri is a great way to automate your home. Apple Home Siri makes managing your home easy by letting you voice-command your Aeotec and other smart home devices.
Make sure the device is connected to the Internet when using Aeotec with Siri. To do this, you can use an Ethernet cable or a Wi-Fi connection. After establishing the connection, you can start setting up the Aeotec app on your smartphone. Now that the Aeotec is configured, you can use Siri with it.
Editor’s Pick
Definitely, Enomek would be my choice. Enomek is the best option for you and me because of its a lifetime service and easy process. With one account, the service is a lifetime. There is also a wide selection of compatible smart devices available. However, you must consider what best fits your situation and needs.
FAQs
Help for Aeotec Smart Home Hub, Aeotec's gateway which works with SmartThings. This solution shows you how to sync Smart Home Hub to Amazon Alexa and/or Google Assistant to enable voice to control your connected devices.
- MultiSensor 6 (ZW100)
- MultiSensor 7 (ZWA023)
- Range Extender 7 (ZW189)
- Recessed Door Sensor 7 (ZW187)
- Smart Switch 7 (ZWA023-A)
- Water Sensor 7 (ZWA018 / ZWA019)
- Outdoor Smart Plug (ZWA042-A)
The Aeotec MultiSensor 7 motion sensor is perfect for more than just an intelligent security system. With a 10-meter range and a 120° field of view, MultiSensor 7 captures motion data that can be used for everything from security to heating management to energy saving.
Z-Wave compatible products from Aeotec, boast compatibility with the widest range of gateways. Not only backward compatible with all generations of Z-Wave but also immune to the wireless interface issues that are common in other standards.